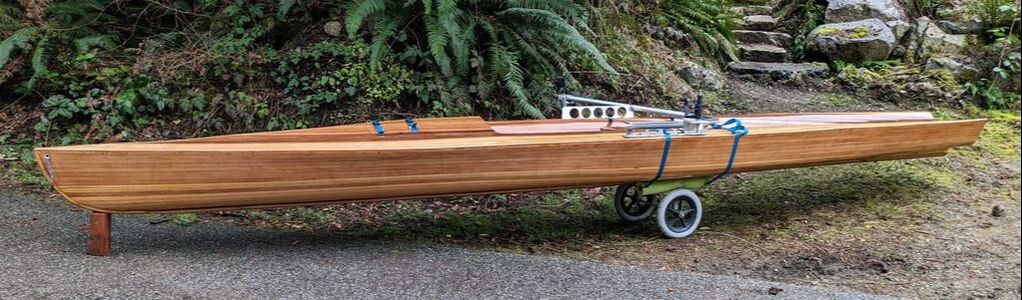
I just finished the third prototype. It came in at 73 pounds fully rigged, using 5mm strips and 4 oz cloth. This version has a slightly narrower beam at 30 inches and I peaked the deck a bit more to shed water and make the hatch seal better. I have had proper drawings made, including full size pdf's of the stations and bow form and am working on a building manual for release later.
 The first version of the Salish was a bit high volume for my liking, so I brought the height down and built another. The result is lighter, 68 pounds fully rigged. I intend to sell the first, it would make a great touring boat, with a bit of extra capacity for camping gear at a cost of about 20 pounds of extra wieght.
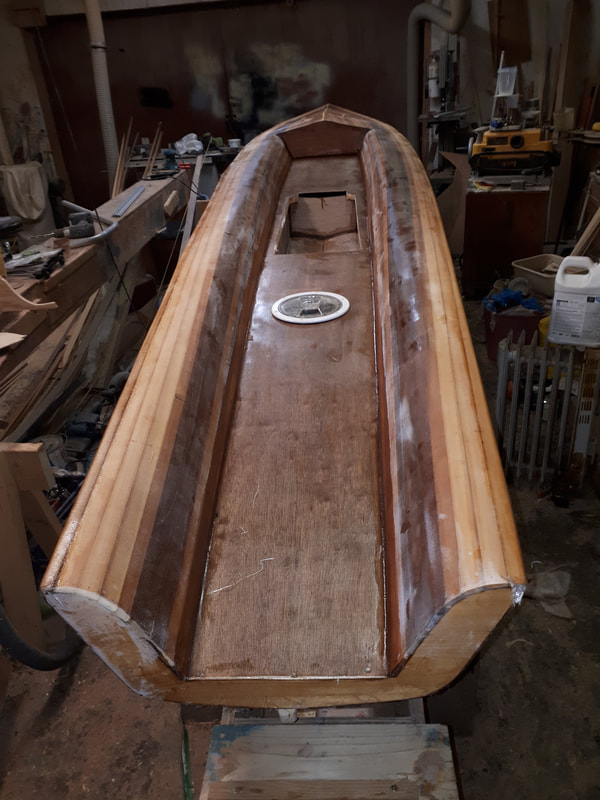 The stern looking forward. The center deck is sloped aft, to clear any water that comes aboard and is about 3 inches above the design waterline; just below the bottom of the transom. The footwell has a slope at the aft end so that the surge of the boat under oars will "slosh" most of the water out of it. If that doesn't work I may have to fit a venturi bailer. 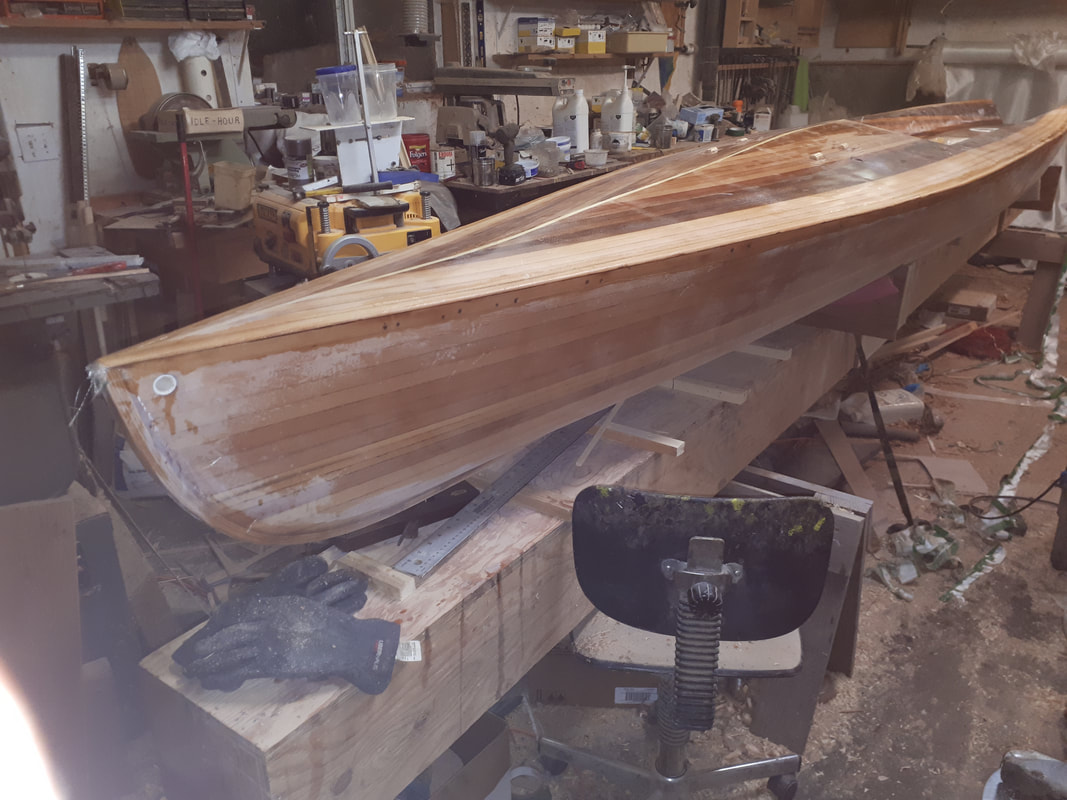 The bow eye is abs pipe just aft of the inner stem and is supported by an end-pour of thickened epoxy strong enough to tow the boat under any circumstances.
 The deck has been glassed inside and out, and today I put the two halves together. The joint is along the sheerline, and is fastened temporarily with screws until the epoxy cures. I also cut a hatch into the foredeck to access the floatation and storage there. Three bulkheads separate the watertight compartments, and they will all have access ports. 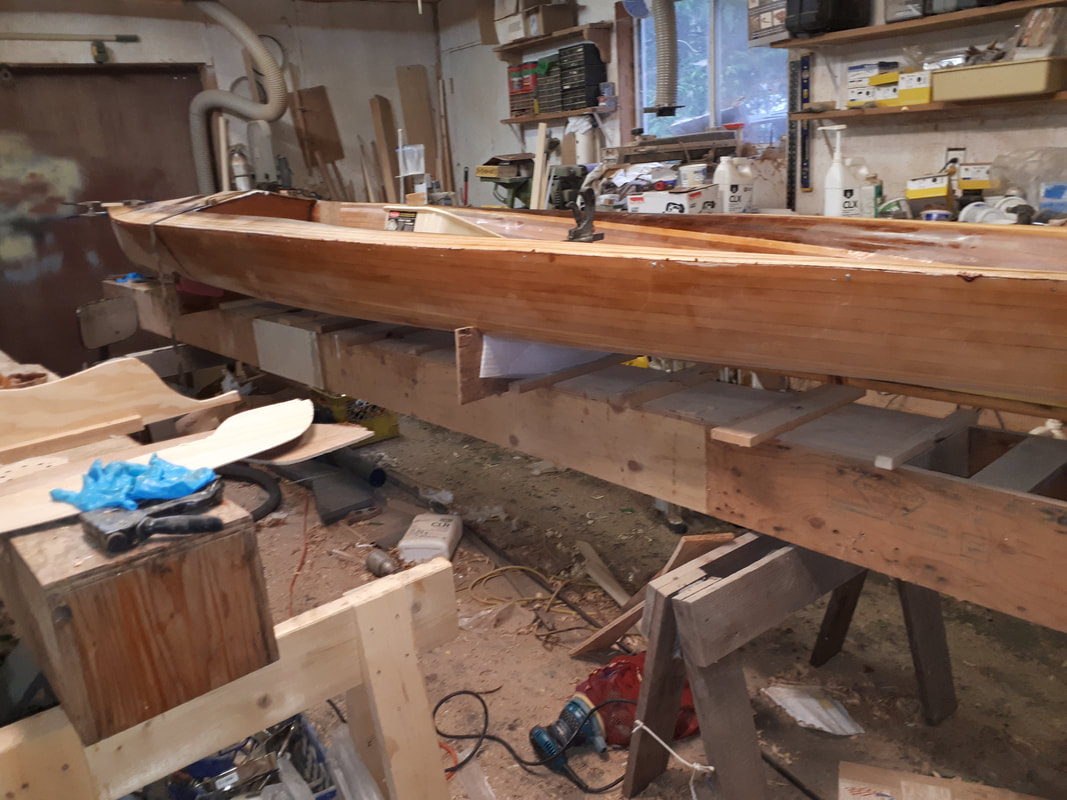  The deck is built by turning the hull with the forms still in place. I used staples for the deck build, and pulled them before sanding.
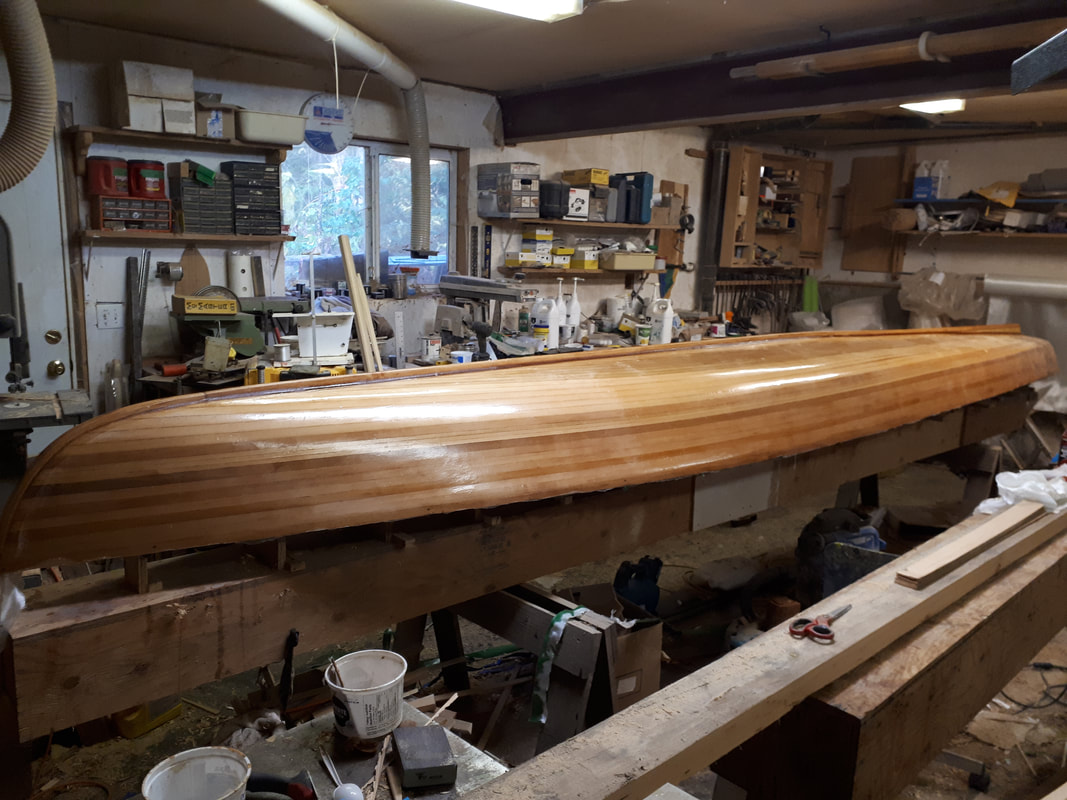 I've sanded and glassed to hull, and attached the keel and skeg. I'm doing a full length keel strip with a brass half-oval for protection. 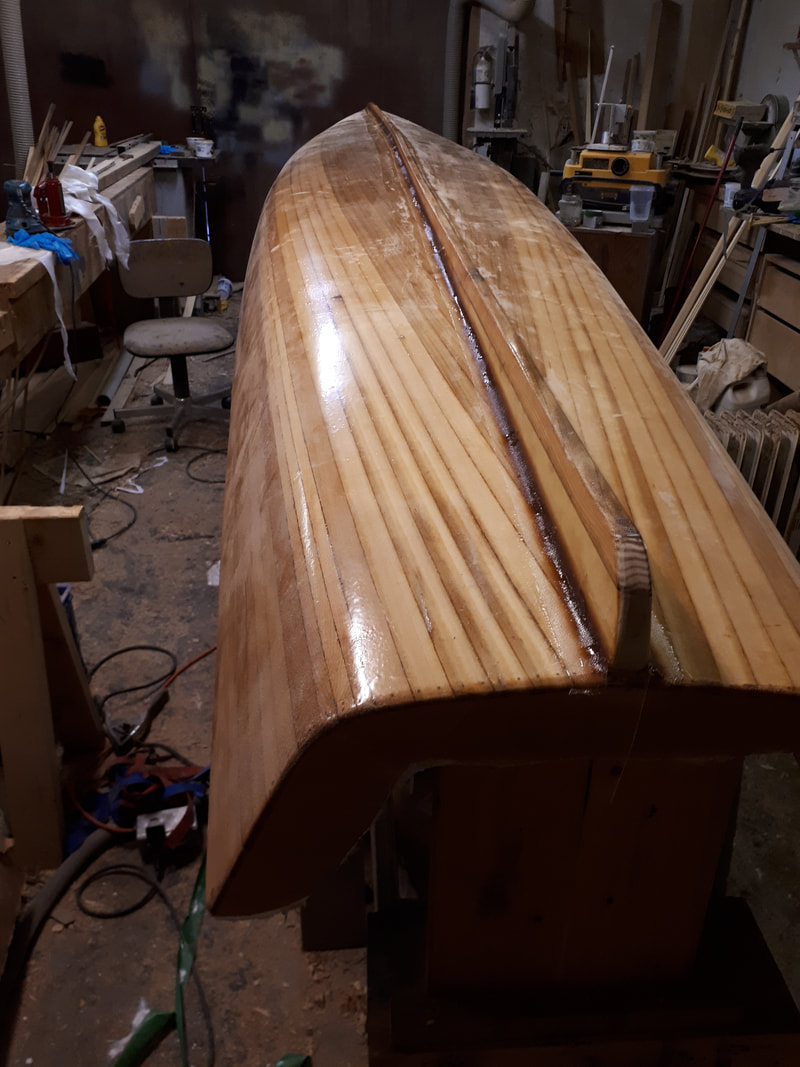 Next step is to flip the hull and build the decks.
 I finished stripping the hull today, still have to laminate the outer stem and fill the cracks along the centerline. I will just use thickened epoxy for the centerline, instead of a fill strip that I would usually do as the keel will cover the carnage from the outside, and the boat is fully decked so it will not be visible from the top.
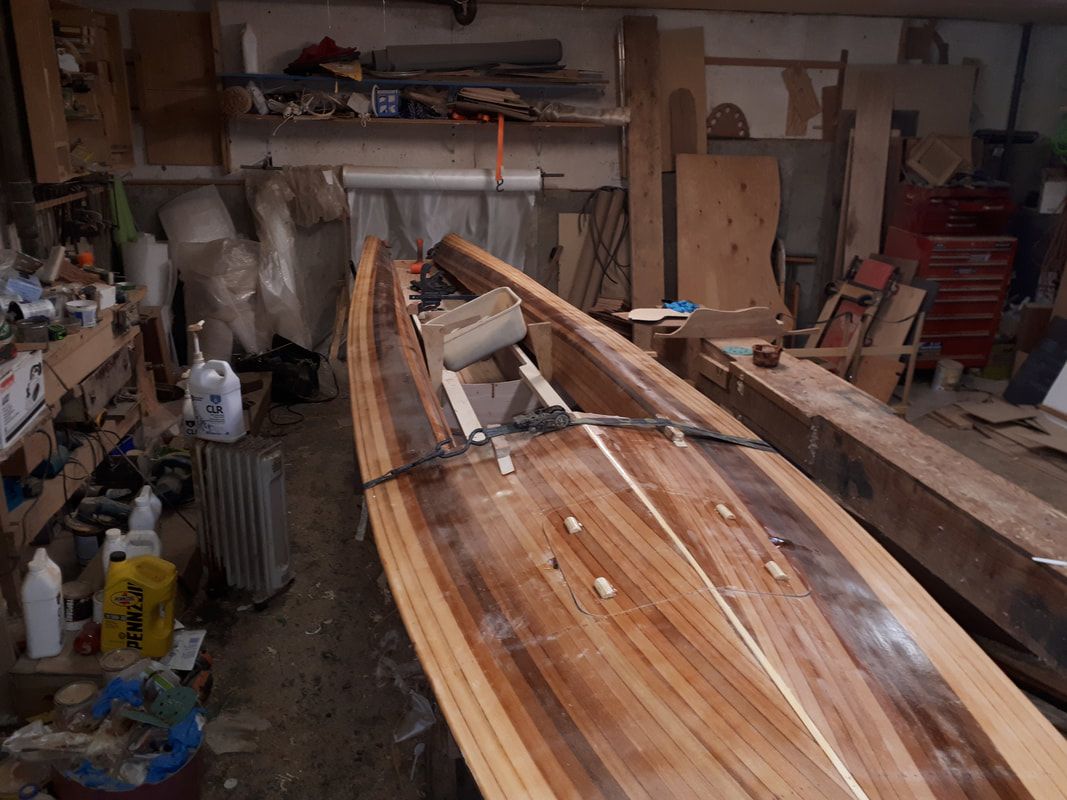
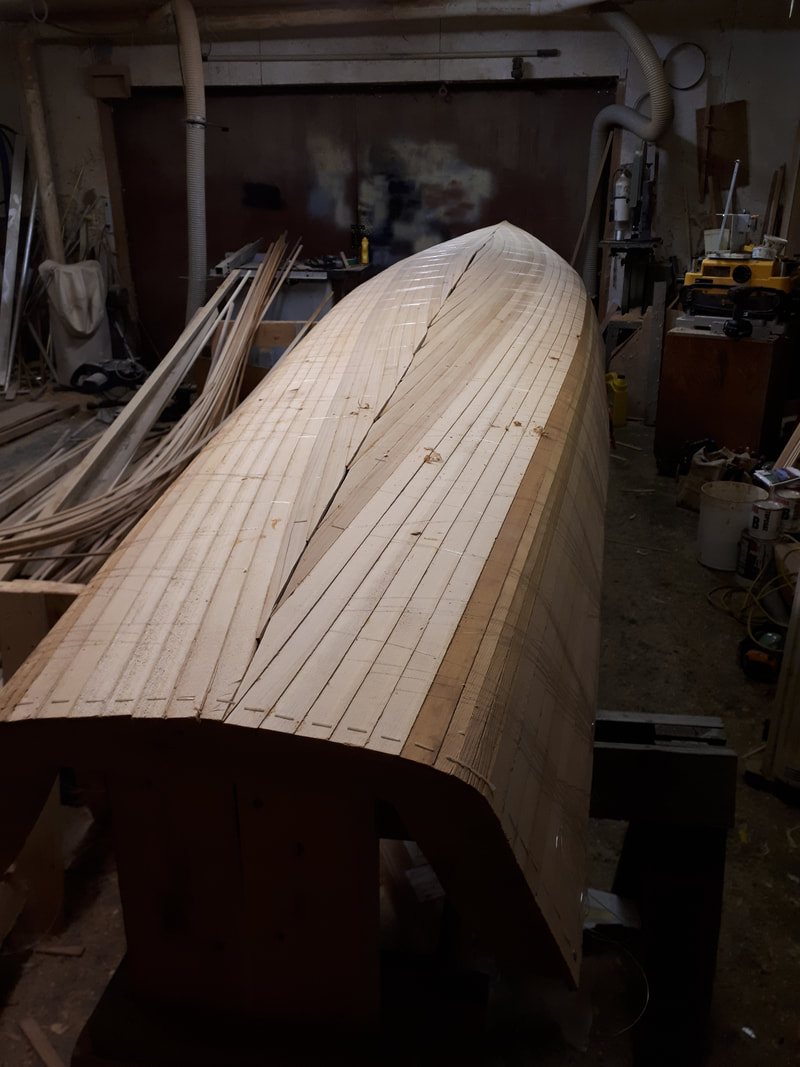
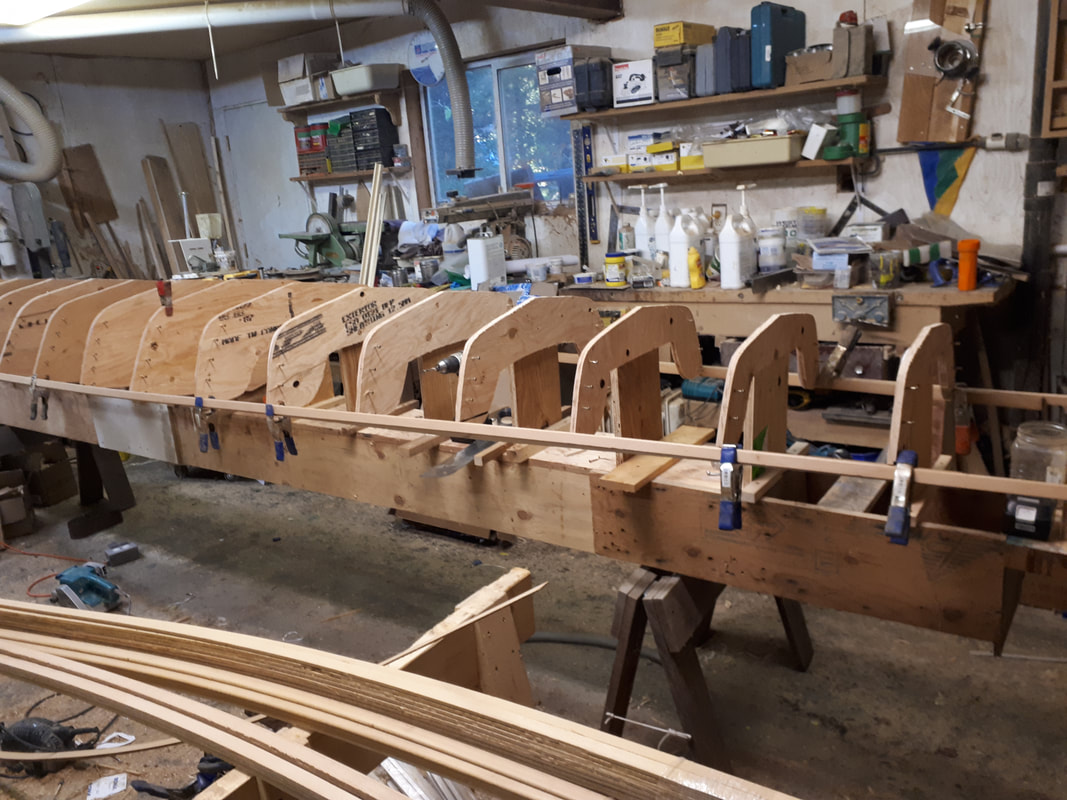
'I've set up the forms for my latest project; a "coastal rowing boat". It will be 18 feet, by 32 inch beam, and self bailing. I designed it on freeship starting with the lines from "Fine" but with a bit more width aft and an open transom. the interior will be decked at the bottom of the sliding seat, which is above the waterline so it will be unsinkable and be easier to self-rescue after a capsize. 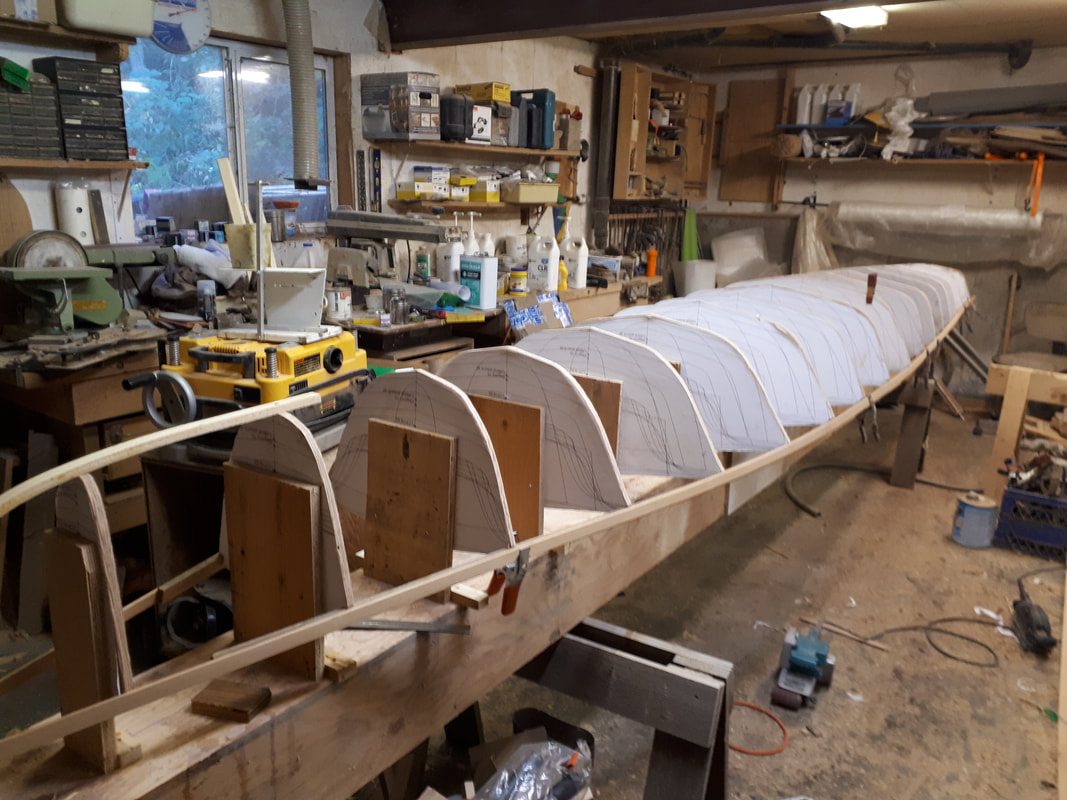
The boat will be built in two parts, hull and deck, and assembled with a shear clamp when everything is glassed in and out. I intend to have hatches to access the interior of the boat for storage and maintenance. I am still trying to decide between a keel and skeg, or just a paddleboard style fin.
|
AuthorRick Crook of Oyster Bay Boats Pender Harbour BC Archives
May 2024
Categories |
 RSS Feed