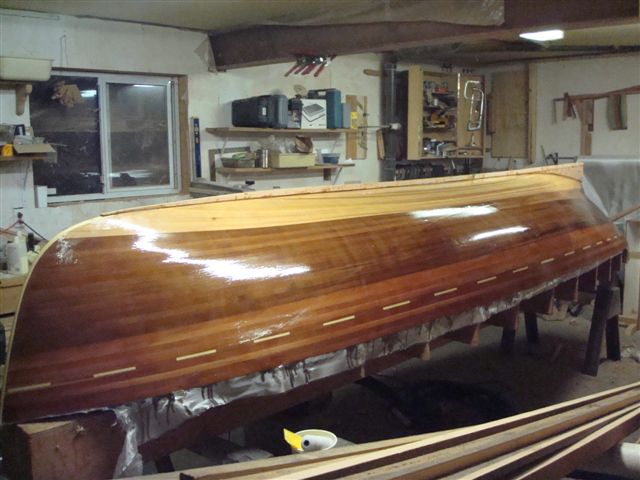
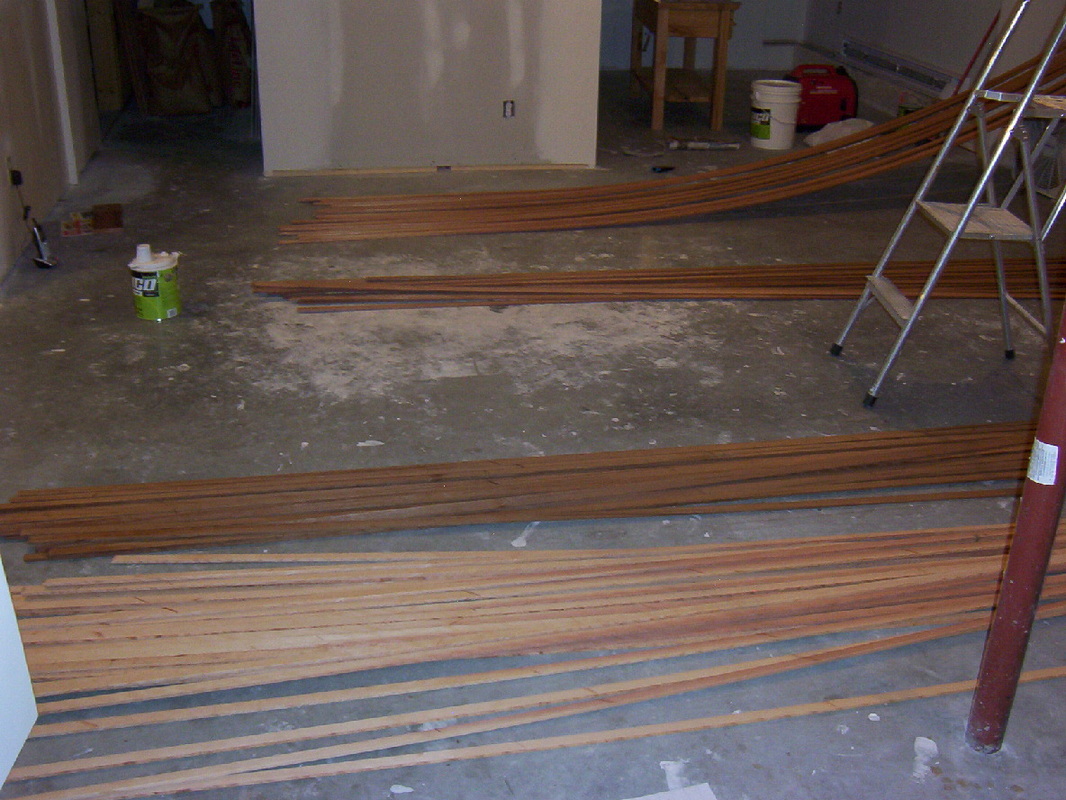
Glued the skeg on yesterday, and the keel on today, and added a fill coat to the hull. The pile of sticks in the foreground is rough pieces to make the gunwhales. Fir, like the keel strip.
|
Glued the skeg on yesterday, and the keel on today, and added a fill coat to the hull. The pile of sticks in the foreground is rough pieces to make the gunwhales. Fir, like the keel strip.
0 Comments
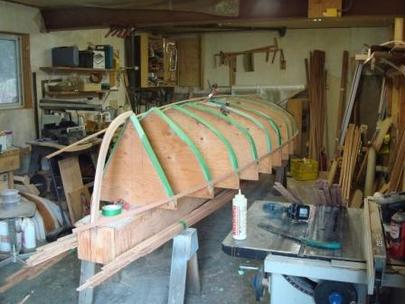
 I've put on the first two pieces of fiberglass cloth. The cloth is not wide enough to cover the whole width of the boat, so they overlap across the centerline. If you look very carefully, you may see the edge of the cloth arcing up to the turn of the bilge. I'll place one more sheet centered on the boat, then on to the keel and skeg.
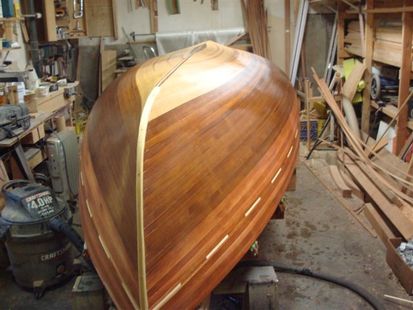 I've planed the center strip down to match the hull, laminated the outer stem(in yellow cedar) and sanded the whole boat for the first time(60 grit). Soaked with water, to close up the staple holes, and to help me find missed glue spots, the boat really shows the colours of the cedar. I'll let this dry and sand again with 80 or 100 grit to finish.
 Finished the other side, now to cut back the center and make a strip to fit... 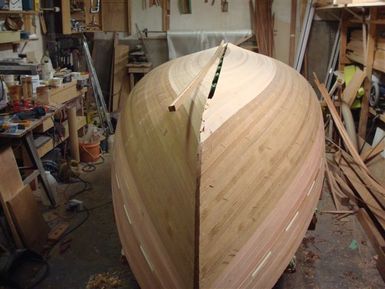 Now I've cut the center gap and made a piece to fit. At this point I removed all the fishing line and staples, and the screws along the shear, so that the hull can be pulled tight against the center strip once it is installed.
 The wherry is stripped past the centerline; when the glue is well dried, (tomorrow) I'll cut the long ends back to give clearance for the same process on the other side. The lighter strips have been stapled as I can no longer reach around the hull to pass the roll of fishing line.
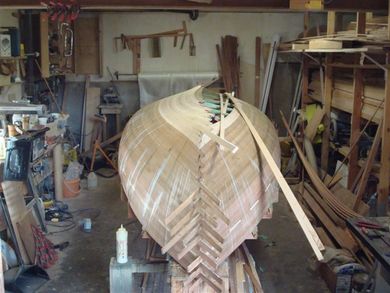
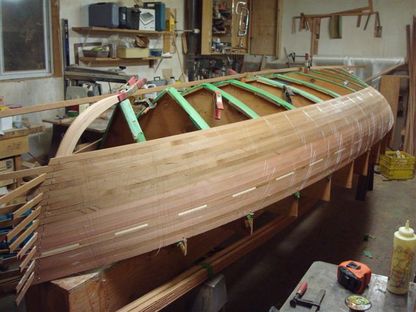 Long day today, almost 40 strips and the better part of a roll of fishing line. For some reason, I have a blister on my little finger, probably where the roll of fishing line was held tight. There is nice squeeze-out on the strips and the line is all tight enough to play a note on the inside of the boat.  In this picture you can see how the line goes around the screws to pull everything tight to the forms and how the line goes around the strips diagonally, at each form and once in between. Each strip is held by a continuous length of fishing line, tied to a screw on the strongback at the bow and wrapped around and around down the length of the boat to the stern, where it is clamped and cut. 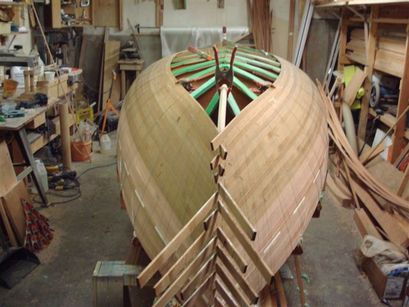 Not bad for a single days work!
 I have the strongback and forms set up and have attached the first or shear strip on the new boat. The first strip is screwed to the forms, the holes will be covered by the gunwhales but the rest of the strips will be held in place by fishing line. This takes the place of stapling the strips in place, and the fishing line acts like little elastic bands, holding the strips together and tight to the forms. 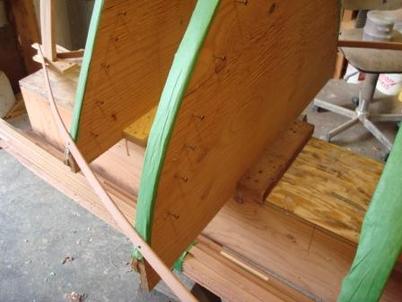 This photo shows the screws placed in the face of the forms that add inward pressure to the fishing line, keeping the strips tight to the forms. Their purpose will become more obvious after I get a few strips in place. The advandtage of fishing line is that you can keep adding strips, the line all stays in place until the whole hull is assembled, unlike masking tape or elastic bands.
 I received a commission for a new Cosine Wherry last weekend.
So far I have laminated the inner stem, cut out the transom, and purchased rough cedar planks for the strips. The cedar appears to be quite nice, but very wet; two boards very dark, and one a bit lighter but with a dark streak in the center. The rough cut strips are in my basement, where they have been put to dry. I rip the strips oversize, and then plane them to thickness, then bead and cove. |
AuthorRick Crook of Oyster Bay Boats Pender Harbour BC Archives
May 2024
Categories |
 RSS Feed